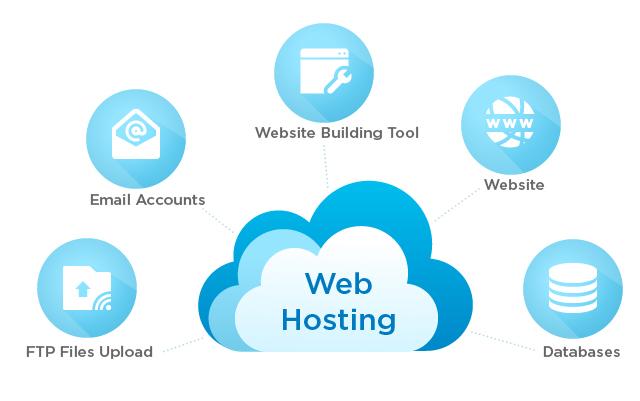
Creating a build host website can be an exciting project! Here’s a step-by-step guide to help you get started, covering key components like design, functionality, and technology stack.

1. Define Your Purpose
Determine the specific purpose of your build host website. Are you providing build services for specific programming languages, offering CI/CD (Continuous Integration/Continuous Deployment) pipelines, or hosting software builds for developers?
2. Plan Your Features
Consider including features such as:
- User Registration/Login: Allow users to create accounts and manage their builds.
- Build Management: Users can upload their code, specify build configurations, and manage build history.
- Notifications: Email or push notifications for build status updates.
- API Access: Provide an API for users to trigger builds programmatically.
- Documentation: Offer detailed guides and FAQs.
3. Choose Your Technology Stack
- Frontend: HTML, CSS, JavaScript (Frameworks: React, Angular, or Vue.js)
- Backend: Node.js, Python (Flask/Django), Ruby on Rails, or Java (Spring Boot)
- Database: MySQL, PostgreSQL, or MongoDB
- Hosting: Cloud services like AWS, Google Cloud, or DigitalOcean
- Build Tools: Docker, Jenkins, Travis CI, or GitHub Actions
4. Design the User Interface
Create wireframes or mockups for your website. Use tools like Figma or Adobe XD to design:
- Homepage
- User dashboard
- Build submission form
- Build history page
- Notification settings
5. Develop the Website
- Set up the frontend and backend: Start by creating a repository for your project. Set up a basic server with your chosen backend technology and create a frontend application.
- Implement user authentication: Use libraries like Passport.js (Node.js) or Django’s built-in authentication for managing user accounts.
- Build management: Create functionality to upload code, trigger builds, and display build results.
- Notifications: Implement a notification system using services like Twilio or SendGrid.
6. Test Your Website
Perform thorough testing to ensure everything works correctly. Include:
- Unit tests for individual components
- Integration tests to check how different parts of the application work together
- User acceptance testing (UAT) with real users
7. Deploy Your Website
Choose a hosting platform and deploy your website. Popular options include:
- Heroku: Easy to use and suitable for small projects.
- AWS/GCP/Azure: More complex but offers scalability and additional services.
- DigitalOcean: Cost-effective and user-friendly.
8. Maintain and Update
After deployment, monitor the website for performance and user feedback. Regularly update the site with new features, security patches, and optimizations.
Example Tech Stack
- Frontend: React
- Backend: Node.js with Express
- Database: PostgreSQL
- Deployment: AWS with Docker
Resources
- Documentation: GitHub for code hosting and version control.
- UI Libraries: Material-UI for React or Bootstrap for quick styling.
- Tutorials: Look for online tutorials for specific technologies you're using.

Buscar
Patrocinados
Patrocinados
Categorías
- Art
- Causes
- Crafts
- Dance
- Drinks
- Film
- Fitness
- Food
- Juegos
- Gardening
- Health
- Home
- Literature
- Music
- Networking
- Other
- Party
- Religion
- Shopping
- Sports
- Theater
- Wellness
Read More
Upcoming Technologies in Web Development (2024-2025)
The ever-evolving field of web development is set to witness groundbreaking advancements in the...
Mobile Optimization for SEO: Best Practices
Mobile optimization is an indispensable aspect of SEO (Search Engine Optimization). It plays a...
Handicraft Home Decor
At Kalaarii Craft, we believe in the art of preserving culture through craftsmanship. Our mission...
Quantum computing unlocks new vistas in data manipulation
Quantum computing represents a novel computational paradigm that leverages the fundamental...
list of some daily uses WordPress hooks with example
wp_head Action Hook:
Description: Used to inject code into the <head>...
© 2024 Abhira Social Media
 Spanish


